(Coffee Sleeve)
With "going green" being all the craze these days besides using reusable bags everyone should being using reusable coffee sleeves! It’s estimated that 14 billion cups of coffee are served every year wrapped in a single-use, cardboard coffee sleeve, which adds up to 2.8 billion pounds of trash. You can visit my etsy shop http://www.etsy.com/shop/LibbyandLee?ref=si_shop and buy yourself a few to keep in your purse, glove box, carry on luggage etc. or if you're feeling crafty then you can follow these steps below to make your own!
1. Head to the local fabric shop and pick yourself up these necessary supplies:
- Insulated Batting (Most Important!!!)
- Fabric
- Thread
- Button
Then, stop by Target, a drugstore, dollar store, where ever you feel like stopping and get yourself some skinny hair elastics.

2. Either download yourself a template or go to a coffee shop and get a paper sleeve to use as a template (this better be your last!!) I downloaded my template from http://www.houseonhillroad.com/coffeecozy.pdf
3. Now we can start cutting! Again like I mentioned on the supply list the most important thing about making a "REAL" coffee cozy is to use insulated batting. The insulated batting is going to keep your beverage hot or cold (which ever it's starting out as) for as long as possible and protect your hands much better than a traditional batting would.
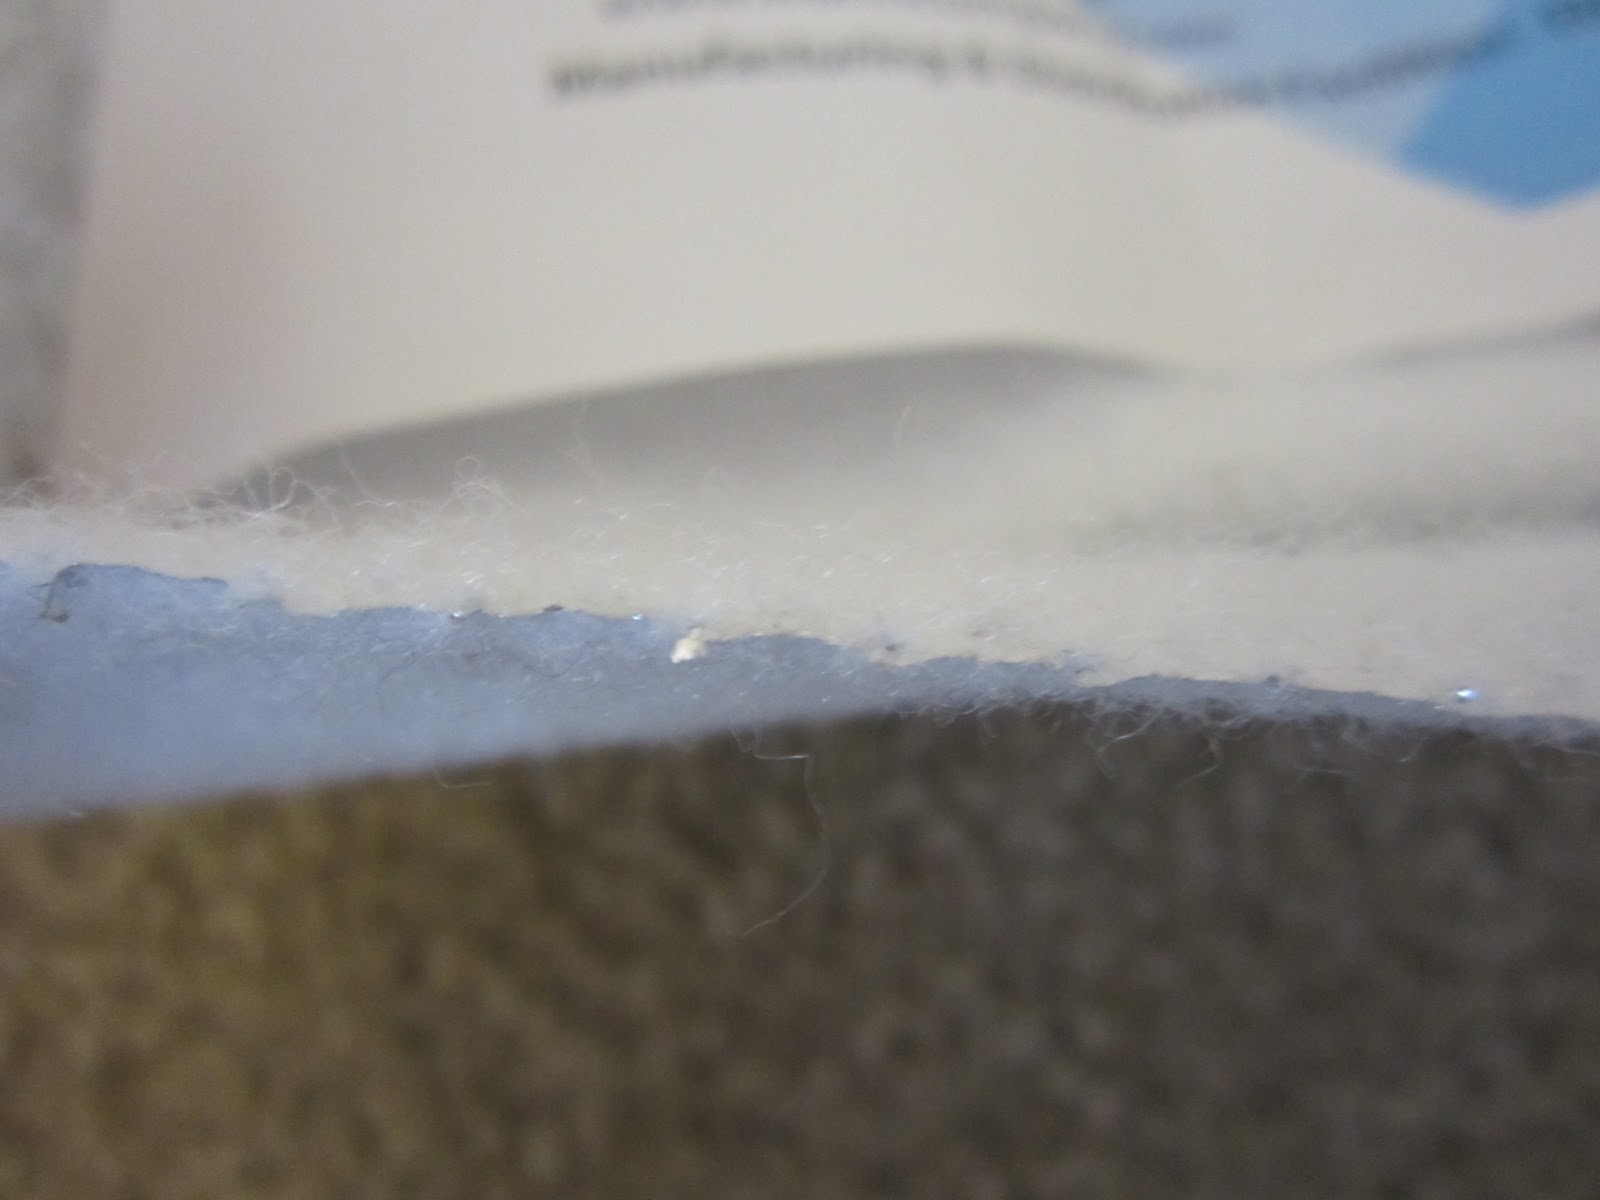
This is what the insulated batting looks like

If you look carefully, you can see a thin middle layer of a foily
looking material that's the insulation!

and attach it to the batting and the right side of the material you want to use as the outside of your cozy

Note that I stitched over the elastic more than
once for extra strength


6. Stitch sandwich together leaving an approximately 2" opening so you can turn the cozy right side out.

7. Cut the corners to make turning the cozy right side out easier

8. Turn the cozy right sides out


10. Top stitch the opening closed as well as around the rest of the cozy to give it a nice, finished look.

Make a note that in order to reinforce the
elastic again, I also stitched on top of the
elastic a few times. You want this to be as
strong as possible since it will be holding the
cozy around your cup.

11. Attach a button.

You're finished!
Go get a cup of coffee or tea :)

Grandmothers Flower Garden Quilt How-To
Since I started flying commercially I've had WAY more free time than ever before; the result, finally able to make an entire quilt by hand. Hand pieced, no machine, that is. I mostly have been working on this just at home on reserve days and in hotel rooms when I have longer lay overs however, occasionally if I have the space on the plane commuting across the country to see my family I'll work on it then too. People are always so interested because "they've never seen someone put paper in a quilt before!!" I realized there aren't many good tutorials for this online so I decided as I continue on working on mine I'd post pictures/directions so others can also make one of these beautiful, antique inspired, hand pieced quilts!
1. First you need to find a hexagon template to cut out paper forms from. I downloaded one offline and have been using magazine subscription inserts, old plane tickets, hotel pamphlets, anything that's a mid-weight card stock to cut mine from.

2. Now, you're going to need to cut out fabric pieces. I cut mine out just with scissors by holding my paper templates up to the fabric and leaving myself approximately 1/4" around each edge. You could also cut the pieces out with a roller-cutter. OR, again, like the mylar templates you can also buy precut hexagon shaped fabric pieces. The only problem I've found with the precut fabric is that you're then limiting yourself to color options.

3. Next, you get to finally start sewing! (What quilter actually LIKES cutting anyways?!?!) The first step of piecing this quilt together is basting the fabric hexagons to the card stock hexagons. The basting stitches can be pretty big and slopping because they'll be coming out anyways; just need to be tight enough to hold the fabric on the hexagon nicely and in proper shape.


5. As you get the hexagons connected to each other so that all sides are connected to another seam you can start cutting the basting stitches out and removing the card stock.

- - - - - - - - - - - - - - - - - - - - - - - - - - - - - - - - - - - - - - - - - - - - - - - - - - - - - - - - - - - -
This is as far as I've gotten with my quilt... I'm now going back and forth whether I want to put one or two rows of the cream between the flowers....
